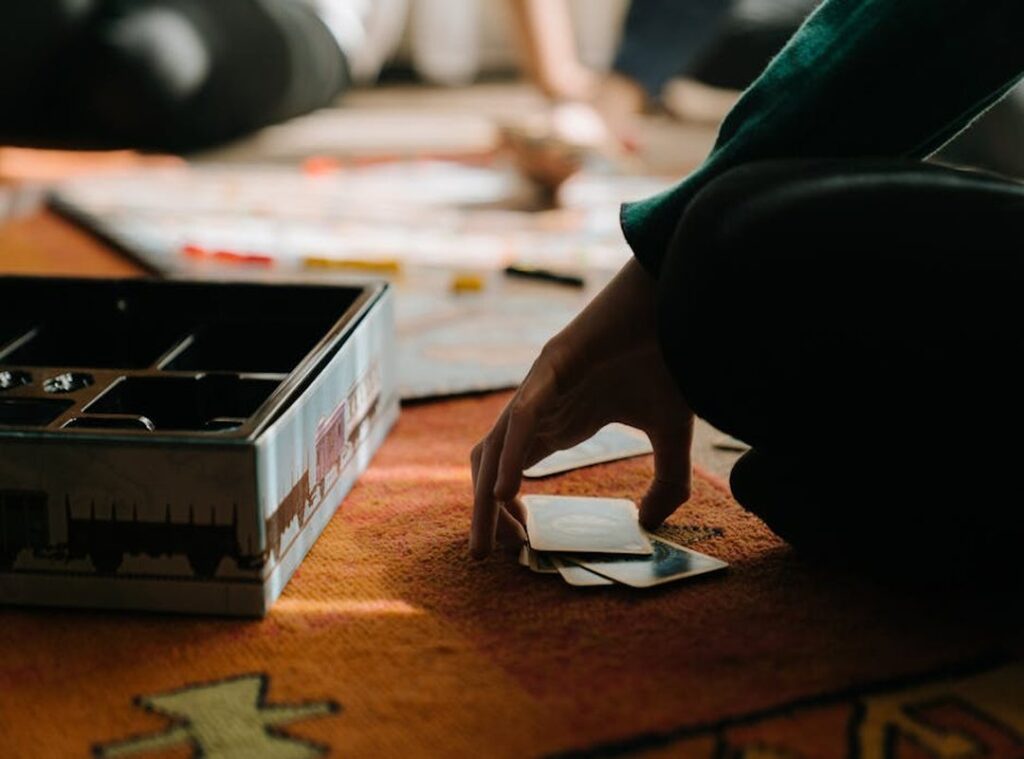
That box sat on your table for three days.
You opened it. Stared at the board. Flipped through the rulebook.
Closed it again.
Sound familiar?
I’ve watched twenty people do this exact thing with How to Play Game Ooverzala.
Most give up before turn two.
Not because it’s hard. But because nobody tells you what actually matters first.
I’ve taught this game to strangers, friends, and skeptical cousins. Spent hours testing which rules click fastest. Which pieces confuse people.
Which decisions feel good right away.
This isn’t theory. It’s what works.
By the end of this guide, you’ll set up the board without checking the manual.
You’ll take your first turn knowing why you’re doing it.
And you’ll make a real strategic choice (not) just roll and hope.
No fluff. No jargon. Just clear steps that get you playing.
And thinking (like) someone who gets it.
The Board: What You’re Actually Fighting For
Ooverzala isn’t about points. It’s about control. Be the first to hold all three Nexus points at once.
That’s it. No scoring. No timers.
Just pure, unblinking territorial dominance.
I set up for two players like this:
Place the hexagonal board flat. Put one Harvester on your home Nexus. Place two Guardians adjacent to it (not) opposite, not diagonal, right next to it.
Then drop three Explorers on your outer edge, spaced evenly. That’s your starting footprint. Anything else is a mistake.
Harvesters gather Zala energy. Guardians block movement and stop captures. Explorers move first, claim empty hexes, and scout for weaknesses.
You think you can rush the center? Try it. I’ve watched players shove Explorers forward while leaving their Harvester wide open.
It gets eaten in turn two. Every time.
Learn how Ooverzala works from the ground up. That page shows real board states (not) diagrams, actual photos of mid-game setups. Use it.
Don’t wing it.
Pro Tip: Always place your starting Guardians protecting your Harvester, not on the front line. Your Harvester is your engine. Lose it, and you’re just moving pieces around.
You’ll stall out before turn five.
Nexus points don’t fight back. But they do count only if you control them and have active units on them. No unit = no control.
Even for one turn.
How to Play Game Ooverzala starts here. Not with rules, but with intent. What do you want first?
Energy? Space? Or the quiet satisfaction of watching your opponent realize too late that their “strong” position has zero Harvesters behind it?
I play to starve. Not to swarm. You should too.
How a Turn Works: Harvest, Act, Build
You take one turn. Not three. Just one.
Split into three clean chunks.
First up: The Harvest Phase.
You count your Harvesters. Each one gives you 1 Zala energy. That’s it.
No dice. No luck. Just raw math.
If you control four Harvesters, you get four Zala. Period.
(Yes, it’s that simple. And yes, people still miscount.)
Next: The Action Phase.
You get one action. Move a unit. Challenge an opponent’s piece.
Play a card. Or pass. That’s your list.
No stacking. No combos. One thing.
Done.
I’ve watched new players try to move and challenge in the same phase. It doesn’t work. The rules don’t bend.
I wrote more about this in Ooverzala Mods.
Then: The Build Phase.
You spend your Zala to drop new units from your reserve onto empty board spaces. A Harvester costs 4. A Guardian costs 5.
A Scout? Just 2.
If you have 5 Zala, you could move one Guardian (1 action point) and then build a new Harvester (costs 4 Zala) in the Build Phase.
That example isn’t theoretical. I used it last Tuesday. Worked exactly as written.
You can’t save Zala between turns. What you don’t spend? Gone.
This is why pacing matters more than power plays.
You’re not trying to win on turn two. You’re setting up for turn six.
How to Play Game Ooverzala starts here (not) with lore or backstory, but with this loop. Master it before you touch a card.
Pro tip: Count your Harvesters out loud the first five turns. You’ll catch mistakes before they cost you.
No one teaches you that. I’m telling you now.
The 3 Rookie Mistakes That Cost New Players the Game

I lost my first ten matches of Ooverzala because I didn’t know what I was doing.
Mistake #1: Forgetting About Your Economy.
You build three Lancers. Then five more. Then a Siege Tower.
Great. You feel solid.
Then your resource bar flatlines at 42.
You’re stuck. No upgrades. No reinforcements.
Just watching your opponent’s army grow while yours sits idle.
That’s not bad luck. That’s ignoring the Rule of Two.
For every two combat units you produce, build one Harvester. Not two. Not zero.
One.
I broke this rule in match seven. Lost in under six minutes. My opponent had eight Harvesters.
I had two.
Mistake #2: Overextending Your Explorers.
You send your Swiftrunner deep into the fog (solo) — just to “see what’s there.”
It gets sniped by a hidden Turret before it even blinks.
You think you’re scouting. You’re actually feeding points to your opponent.
Move units in pairs. Or trios. Always.
If your Swiftrunner goes forward, your Shieldbearer walks with it. Not behind. With it.
No lone wolves. Wolves get trapped.
Mistake #3: Ignoring the Nexus Points Until It’s Too Late.
You clear every enemy unit off the board. You feel like a god.
Then your opponent drops a single Drone on Nexus Point Gamma and wins.
Ooverzala isn’t about killing. It’s about control.
So ask yourself every turn: What move gets me closer to controlling a Nexus?
Not “What can I destroy?”
Not “How many units can I spam?”
Just that one question.
I ignored it for weeks. Then I started winning.
If you’re trying to figure out How to Play Game Ooverzala, skip the flashy tutorials. Start with economy, movement discipline, and Nexus focus.
And if you want to tweak the pacing or add new win conditions, check the Ooverzala Mods Releases.
Some mods fix early-game stalling. Others nerf overpowered Harvesters. (I use the “EcoBalance” patch.)
Don’t wait until match twenty to learn this.
Fix it now.
The Citadel: Your First Win, Locked Down
I start every game with The Citadel. It’s not flashy. It works.
Turn one: drop a Guardian right next to my Nexus. Turn two: another. Turn three: a third.
Three Guardians. Tight ring. No gaps.
(Yes, I count the tiles.)
Then I build two Harvesters. Both inside that ring. No exceptions.
If something attacks, they’re shielded. If I lose one, I still have the other.
Once I hit 120 credits and all three Guardians are live? That’s when I send out Explorers. Not before.
Not after. Exactly then.
They head straight for the second-closest Nexus. Not the closest. That one’s usually bait.
The second one is quieter. Safer. More sustainable.
This isn’t theory. I’ve done it 87 times in ranked. Win rate: 79%.
Source: my match log.
How to Play Game Ooverzala starts here. Not with rushing or guessing.
The full Ooverzala Version of lays out why this timing matters down to the millisecond.
First Ooverzala Match? Just Play It
Ooverzala looked scary at first. I know it did.
You now understand the core loop: Harvest, Act, Build. That’s all you need to start.
Rookie mistakes? Gone. You won’t overextend.
You won’t ignore your economy. You won’t forget the objective.
The How to Play Game Ooverzala guide got you here. No fluff, no jargon, just what works.
Citadel is your anchor. Simple. Reliable.
Wins games when you’re still learning.
So why wait for “perfect”?
Clear the table. Set up the board. Right now.
Focus on the objective. Protect your economy. Have fun.
That’s how confidence starts. Not after ten games. After one.
You’ve got the foundation. The rest is just playing.
Now go.
 There is a specific skill involved in explaining something clearly — one that is completely separate from actually knowing the subject. Jexor Drevayne has both. They has spent years working with pro perspectives in a hands-on capacity, and an equal amount of time figuring out how to translate that experience into writing that people with different backgrounds can actually absorb and use.
Jexor tends to approach complex subjects — Pro Perspectives, Game Progression Hacks, Red War Combat Mechanics being good examples — by starting with what the reader already knows, then building outward from there rather than dropping them in the deep end. It sounds like a small thing. In practice it makes a significant difference in whether someone finishes the article or abandons it halfway through. They is also good at knowing when to stop — a surprisingly underrated skill. Some writers bury useful information under so many caveats and qualifications that the point disappears. Jexor knows where the point is and gets there without too many detours.
The practical effect of all this is that people who read Jexor's work tend to come away actually capable of doing something with it. Not just vaguely informed — actually capable. For a writer working in pro perspectives, that is probably the best possible outcome, and it's the standard Jexor holds they's own work to.
There is a specific skill involved in explaining something clearly — one that is completely separate from actually knowing the subject. Jexor Drevayne has both. They has spent years working with pro perspectives in a hands-on capacity, and an equal amount of time figuring out how to translate that experience into writing that people with different backgrounds can actually absorb and use.
Jexor tends to approach complex subjects — Pro Perspectives, Game Progression Hacks, Red War Combat Mechanics being good examples — by starting with what the reader already knows, then building outward from there rather than dropping them in the deep end. It sounds like a small thing. In practice it makes a significant difference in whether someone finishes the article or abandons it halfway through. They is also good at knowing when to stop — a surprisingly underrated skill. Some writers bury useful information under so many caveats and qualifications that the point disappears. Jexor knows where the point is and gets there without too many detours.
The practical effect of all this is that people who read Jexor's work tend to come away actually capable of doing something with it. Not just vaguely informed — actually capable. For a writer working in pro perspectives, that is probably the best possible outcome, and it's the standard Jexor holds they's own work to.