If you’re trying to win more battles in Red War, you already know that raw power isn’t enough. The real edge comes from understanding how combat mechanics, multiplayer meta shifts, and progression systems actually work beneath the surface.
This guide breaks down the mechanics that decide fights before they even start—from positioning and loadout optimization to the often-misunderstood damage type resistance system that can completely change the outcome of a matchup. Whether you’re climbing ranked, optimizing your build, or trying to counter the current meta, you’ll find clear, actionable insights designed to improve your performance immediately.
Our analysis is built on in-depth battle testing, frame-by-frame strategy breakdowns, and continuous monitoring of multiplayer trends. Instead of repeating surface-level tips, we focus on what consistently works in real matches.
By the end of this article, you’ll understand not just what to use—but why it works—and how to adapt when the battlefield shifts.
The Three Pillars: Damage Types, Sources, and Resistances
By grasping the nuances of damage types and resistance systems, players can not only enhance their strategic gameplay but also avoid the common tactical mistakes that can ultimately cost them the game – for more details, check out our Common Tactical Mistakes That Cost You the Game.
Every balanced combat model stands on three pillars: damage types, damage sources, and resistances. Together, they form a clear risk-versus-reward loop that rewards smart preparation.
Defining Core Damage Types
Most systems begin with distinct categories:
- Physical – direct bodily harm.
- Elemental – energy-based forces drawn from nature.
- True – unavoidable damage that bypasses mitigation.
- Psionic – mind-driven attacks targeting cognition or willpower.
Clarity here matters. When a player sees Fire Damage, they instantly anticipate burn-based consequences (no guessing mid-fight).
Sub-Types for Granularity
Depth comes from subdivision:
- Physical → Slashing, Piercing, Bludgeoning
- Elemental → Fire, Frost, Shock
This granularity supports tactical builds. Heavy armor may resist Slashing but crumble under Shock, creating meaningful loadout decisions.
Mapping Resistances to Types
The backbone is one-to-one mitigation: Fire Resistance reduces Fire Damage. This predictable pairing is the foundation of any scalable damage type resistance system. Without it, counterplay becomes arbitrary and frustrating.
Sources of Resistance
Players typically gain resistance from:
- Base stats
- Armor traits
- Temporary buffs
- Environmental effects
The benefit? Strategic adaptability. Swapping gear before a Frost-heavy raid isn’t busywork—it’s survival math in action.
Stacking Rules: How Multiple Resistance Sources Interact
When multiple resistance sources overlap, the math decides whether your build feels balanced—or completely broken.
Additive Stacking (The Simple Method)
Additive stacking is straightforward: 10% + 15% = 25% total resistance. Easy to calculate. Easy to understand. And dangerously easy to abuse.
Under this model, five 20% bonuses equal 100% immunity. That means zero damage taken (which sounds cool—until everyone does it). Critics argue additive stacking rewards smart gear synergy. Fair point. But in practice, it turns late-game metas into invulnerability contests. Once players cross the threshold, combat depth disappears.
Multiplicative Stacking (The Balanced Standard)
Multiplicative stacking applies each reduction to the remaining damage. Example: A 100-damage hit versus 25% and 20% resistance becomes:
100 × 0.75 × 0.80 = 60 damage.
Instead of 45 damage (additive), you take 60. Notice the difference? Each new layer contributes less raw protection. This model preserves scaling without allowing immortality. It’s why most modern systems—especially in competitive multiplayer—prefer it.
In a well-designed damage type resistance system, multiplicative math keeps tanks durable without making them unkillable (think “raid boss,” not “walking god mode”).
Resistance Penetration: The Counterplay
Now flip perspectives. If a defender has 50% resistance and an attacker brings 30% penetration, that penetration reduces the effective resistance before damage calculation. Depending on the ruleset, 50% may drop to 35% or even 20%. This stat ensures stacking defense always has an offensive answer.
Hard Caps and Soft Caps
A soft cap introduces diminishing returns after a threshold (say 60%). A hard cap sets an absolute limit—like 85% maximum resistance.
Additive vs. multiplicative. No cap vs. capped. The difference defines whether strategy matters—or math breaks the game.
For deeper survivability tactics, see movement mechanics dodging dashing and positioning.
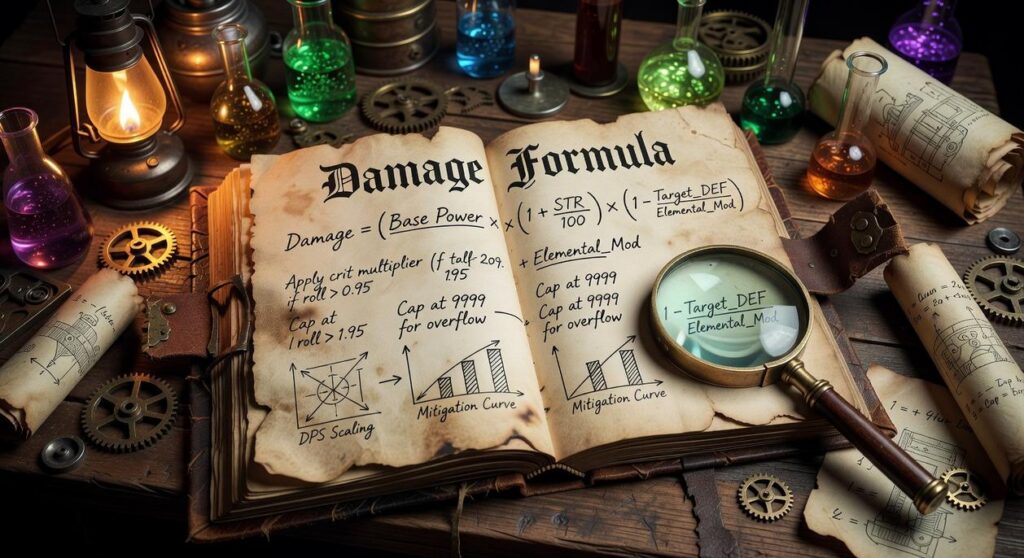
The Damage Calculation Formula: From Hit to Health Loss

Understanding how damage is calculated helps you predict outcomes instead of guessing (and hoping for the best). Here’s the exact order of operations so you can break down any combat exchange with confidence.
Step 1: Base Damage Calculation
This is the raw number tied to your skill, weapon, or ability before any bonuses apply. If your attack lists 1,000 power, that’s your starting point.
Step 2: Applying Offensive Modifiers
Now layer in boosts such as critical hits or amplification buffs. For example:
- 1,000 base damage
- +50% crit bonus
- +20% damage buff
Your modified damage becomes 1,000 × 1.7 = 1,700. Always stack percentage increases before moving forward.
Step 3: Calculating Effective Resistance
This is where the damage type resistance system matters. If the target has 30% resistance but you ignore 10% through penetration, effective resistance is 20%.
1,700 × (1 − 0.20) = 1,360 final adjusted damage.
Step 4: Final Damage
The remaining 1,360 is subtracted from the target’s health pool.
Pro tip: Test these numbers in low-risk encounters first. Once you know the formula, you’ll recognize why some “weak” attacks hit surprisingly hard.
Advanced Concepts: Vulnerabilities and Conditional Modifiers
I learned the hard way how powerful Vulnerability can be. In one ranked match, I stacked Fire Resistance—felt untouchable—until an enemy debuffed me with -30% Fire Resistance. Suddenly, every flame tick melted my health bar. Vulnerability, meaning a negative resistance that increases damage taken from a specific source, flips defense into a liability. And because it’s source-specific, it creates surgical counterplay (think rock-paper-scissors, but deadlier).
Meanwhile, Conditional Resistance only activates in certain scenarios—like 20% extra Fire Resistance while standing in water. Sounds niche, right? Yet in objective modes with choke points, it’s game-changing. Timing and positioning become part of your damage type resistance system.
Then there’s Damage Absorption: a separate shield pool depleted before health. It stacks well with resistance—but not infinitely.
Finally, True Damage bypasses both resistance and absorption entirely. Tank mains hate it. Strategists respect it.
Dominate the Red War Battlefield
You came here to understand how to outplay, outlast, and outgun your opponents in Red War. Now you know how battle strategy, multiplayer meta shifts, progression shortcuts, and the damage type resistance system all connect to determine who wins and who respawns.
The biggest frustration in Red War isn’t losing — it’s losing because you didn’t know what your opponent knew. Misreading resistances, running the wrong loadout, or ignoring meta shifts can cost you ranked progress and hours of grind.
The fix is simple: apply what you’ve learned. Adjust your builds around the damage type resistance system, counter the current meta instead of copying it, and optimize your progression path so every match moves you forward.
If you’re tired of falling behind while others climb, it’s time to level up your strategy. Dive deeper into advanced breakdowns, stay updated on evolving metas, and start implementing pro-level combat adjustments today. Join thousands of competitive players sharpening their edge — and take control of your next match now.
 There is a specific skill involved in explaining something clearly — one that is completely separate from actually knowing the subject. Laura Daileyellowa has both. They has spent years working with buzz central in a hands-on capacity, and an equal amount of time figuring out how to translate that experience into writing that people with different backgrounds can actually absorb and use.
Laura tends to approach complex subjects — Buzz Central, Red War Combat Mechanics, Game Progression Hacks being good examples — by starting with what the reader already knows, then building outward from there rather than dropping them in the deep end. It sounds like a small thing. In practice it makes a significant difference in whether someone finishes the article or abandons it halfway through. They is also good at knowing when to stop — a surprisingly underrated skill. Some writers bury useful information under so many caveats and qualifications that the point disappears. Laura knows where the point is and gets there without too many detours.
The practical effect of all this is that people who read Laura's work tend to come away actually capable of doing something with it. Not just vaguely informed — actually capable. For a writer working in buzz central, that is probably the best possible outcome, and it's the standard Laura holds they's own work to.
There is a specific skill involved in explaining something clearly — one that is completely separate from actually knowing the subject. Laura Daileyellowa has both. They has spent years working with buzz central in a hands-on capacity, and an equal amount of time figuring out how to translate that experience into writing that people with different backgrounds can actually absorb and use.
Laura tends to approach complex subjects — Buzz Central, Red War Combat Mechanics, Game Progression Hacks being good examples — by starting with what the reader already knows, then building outward from there rather than dropping them in the deep end. It sounds like a small thing. In practice it makes a significant difference in whether someone finishes the article or abandons it halfway through. They is also good at knowing when to stop — a surprisingly underrated skill. Some writers bury useful information under so many caveats and qualifications that the point disappears. Laura knows where the point is and gets there without too many detours.
The practical effect of all this is that people who read Laura's work tend to come away actually capable of doing something with it. Not just vaguely informed — actually capable. For a writer working in buzz central, that is probably the best possible outcome, and it's the standard Laura holds they's own work to.